by Judy Kim
Buttermilk Pie Dough
Yield: Two 8 to 10-inch single-crust pies or one double-crust pie
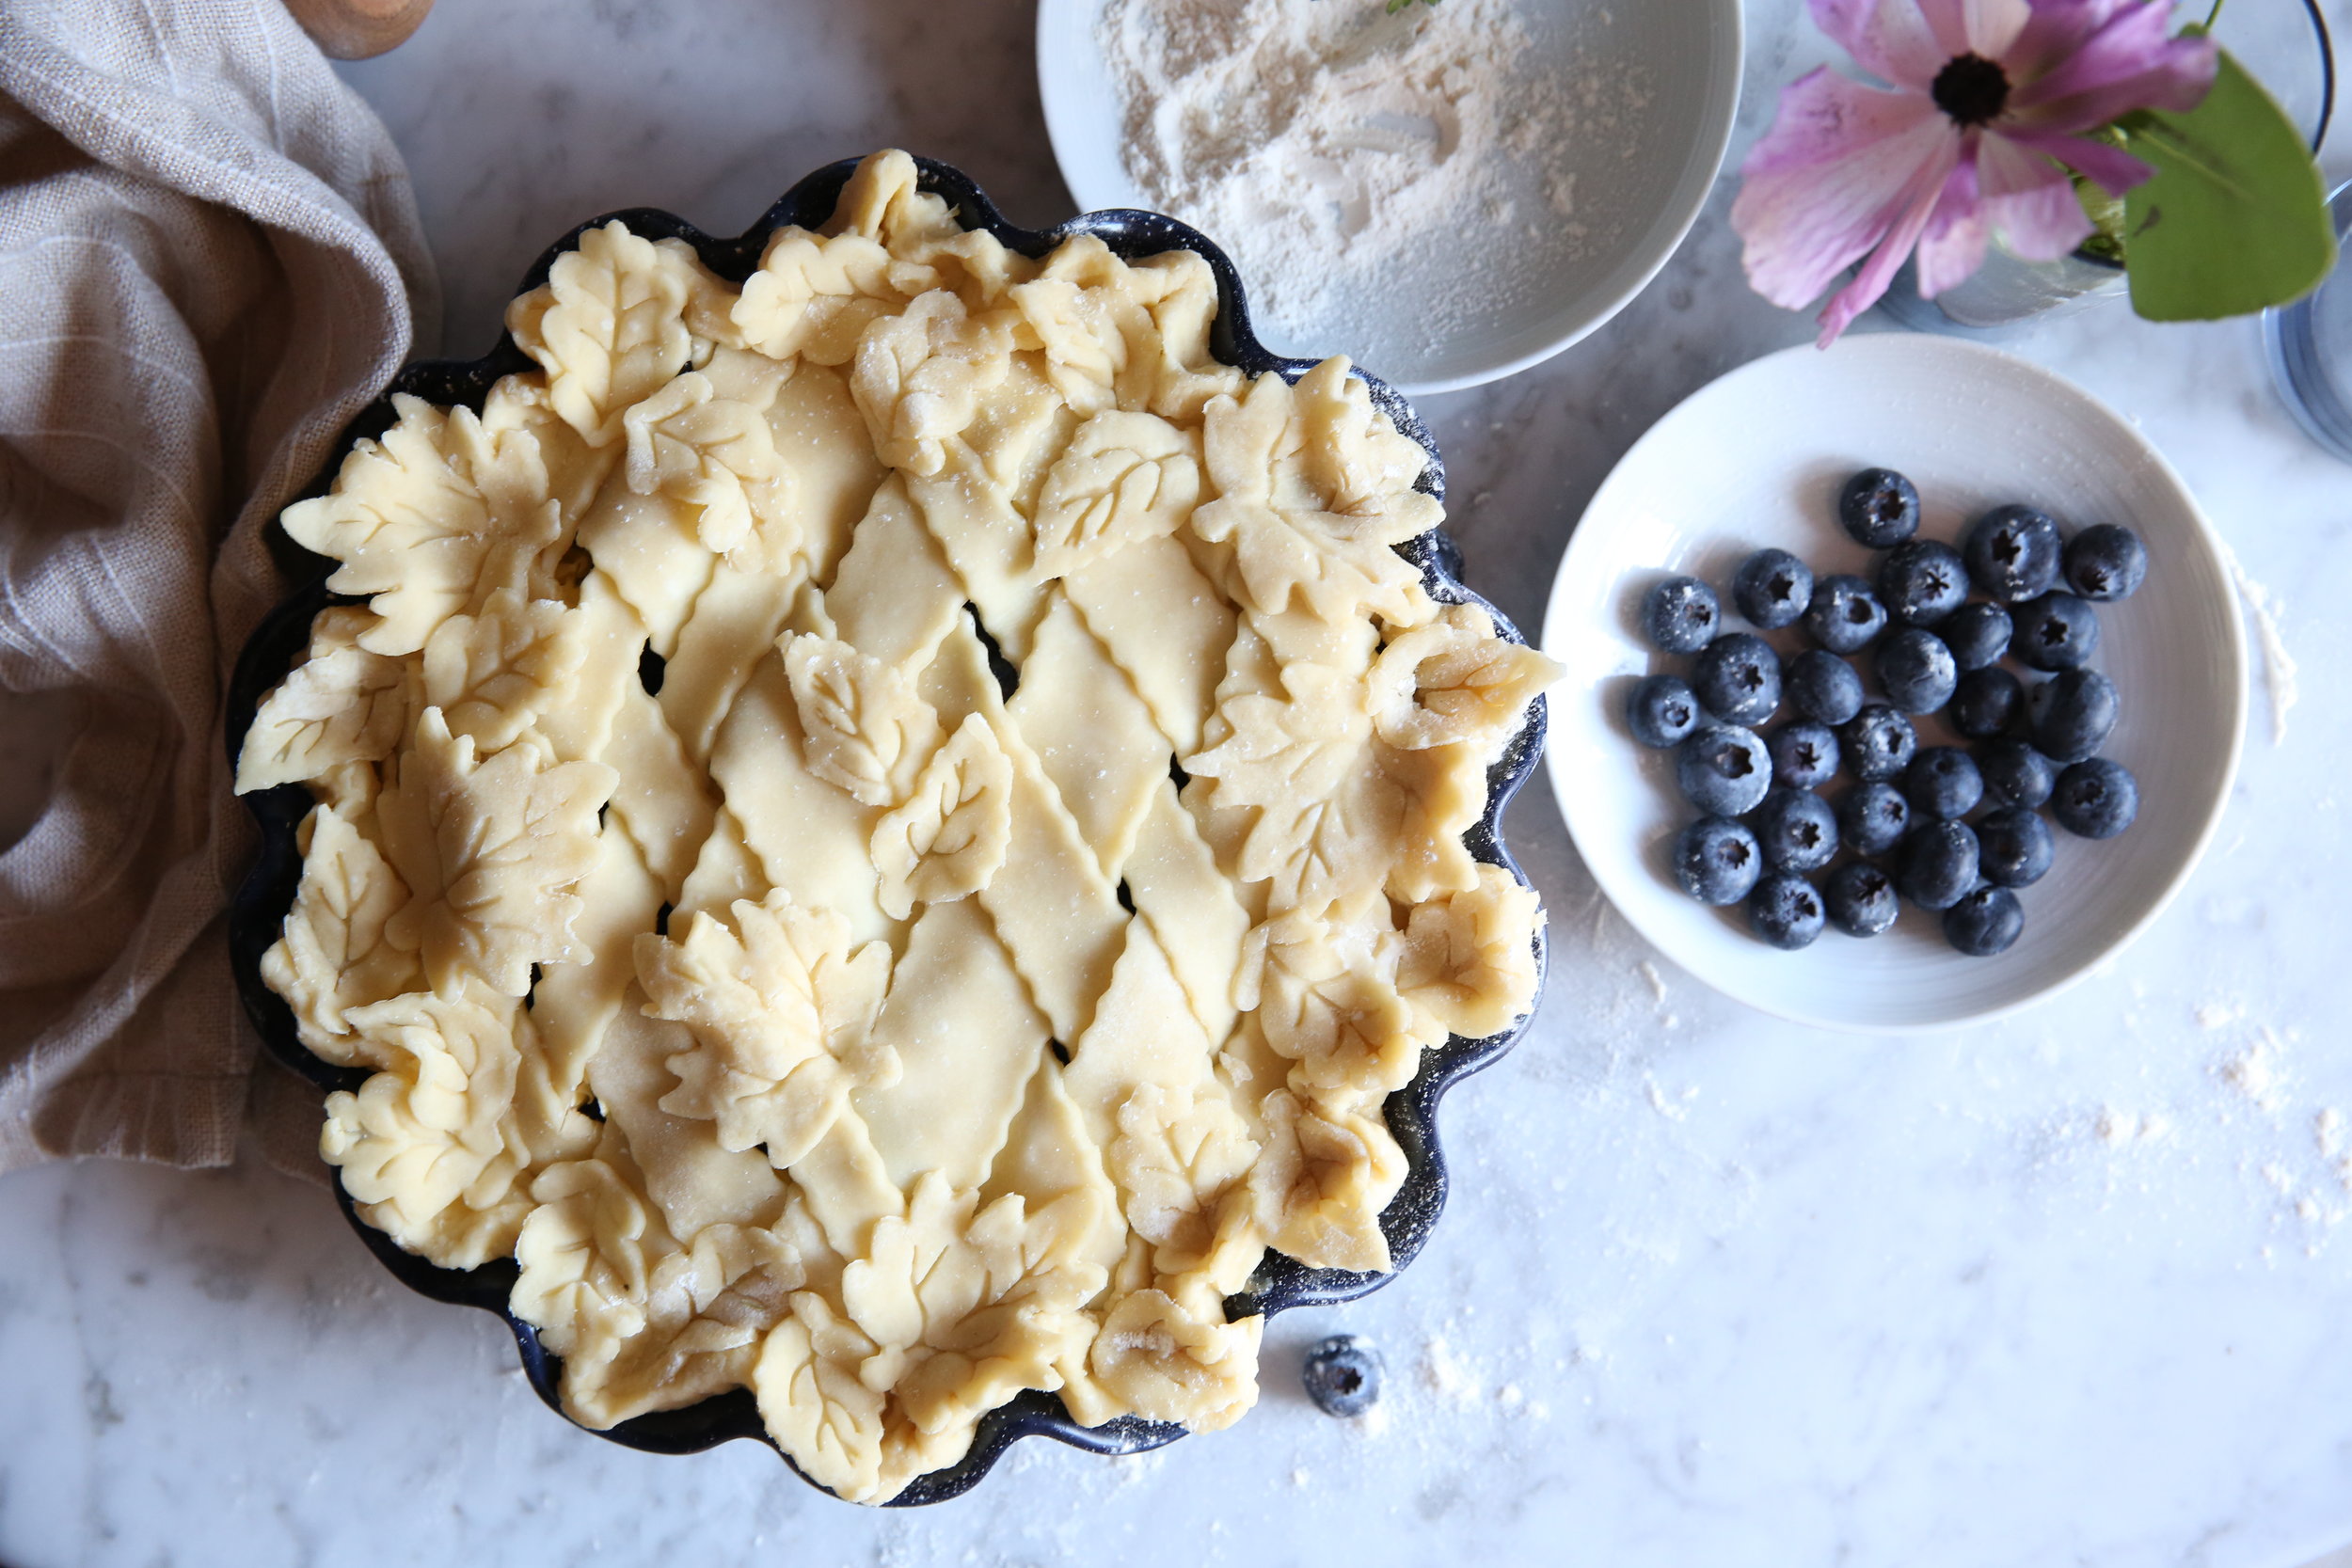
This is an easy and forgiving recipe for a tender and flaky crust. I also developed it to make more dough than your average double crust pie recipe. Which is very handy if you’re making a lattice or decorative pie.
INGREDIENTS
3 cups unbleached all-purpose flour, additional for rolling
1 teaspoon kosher salt
2 tablespoon sugar
½ pound (2 sticks) unsalted European style butter, cut into ½-inch cubes and chilled
1/2 cup chilled buttermilk
DIRECTIONS
In a large deep mixing bowl combine flour, salt, and sugar. Bring pre-cut butter to room temperature for a few minutes and add all at once into flour mixture. Toss until each piece of butter is coated. Using your hands, break butter into the flour by pressing it between your index finger and thumbs while using a slow snapping or sliding motion. It will create large flattened shards of butter covered in flour. Rotate through all the pieces of butter until they have all been fully flattened out and well coated. There should not be any large pieces of butter left and the mixture should look shaggy at this stage.
Using your hands, level the flour mixture and create a slight well in the center. For even distribution use a pour spout liquid measure to drizzle small amounts of chilled buttermilk all over the center of the flour. Using your hands toss mixture from the side to the top in order to keep liquid away from your hands and from touching the bowl; buttermilk should be incorporated rather than all over your hands or creating wet spots on the bowl. Wait until buttermilk is fully absorbed before each addition. Keep mixing with your hands and eventually squeeze the mixture together in your fist to test the consistency, it should just stick together.
Spread a light dusting of bench flour on a clean surface and knead the dough 5 to 7 turns until it forms a ball. The dough will be slightly wet so add flour as needed to prevent sticking. Don’t be afraid to knead the dough until it’s smooth and all the loose bits are incorporated. Lightly coat the dough all over with flour. Cut the dough in two pieces, about 1/3 and 2/3 ratio. Place cut side down onto plastic wrap; tightly wrap and form the smaller piece into a flattened round about 1-inch thick, ideal for the base of your pie. Form the larger piece into a flattened rectangle also 1-inch thick. Sometimes I even cut the dough into equal 1/3 pieces, it’s often easier to work with smaller pieces and keep other pieces in the refrigerator. Chill for one hour to rest, at minimum 20 minutes. Bring dough to room temperature for a few minutes before rolling. I like to soften the edges of the dough while it’s still wrapped before rolling to prevent cracking.
Dust surface and rolling pin with bench flour. This dough is well hydrated, so no need to be worried about adding bench flour, use when needed. Roll smaller round into a circle between 1/8 to ¼-inch thickness. Roll from the center outwards and lighten pressure of the rolling pin before you reach the edge, this keeps the thickness even. Slightly turn pastry after each roll to prevent sticking and add bench flour when needed. When the pastry begins to flatten out, concentrate the rolling pin movement in an upward and circular motion mimicking the curve of the dough, again lightening pressure before reaching the edge, this helps keep it round. When dough is larger than the size of your pie dish, gently fold into quarters and place inside the pie dish. Ensure it is well centered and nestled into the corners without stretching to prevent shrinkage while baking. Using your dominant hand, take the flat part of your upper index finger and gently press the dough into the base corners of the pie dish, while the other hand gently lifts each edge of dough to ensure it is not being stretched.
For a classic crimp, trim dough ½-inch past the rim, reserving leftover pieces of dough. Fold under and crimp using the thumb of your dominant hand while pushing into the index finger and thumb of your other hand forming a subtle v-shape. Place pie dish and dough trimmings on rimmed sheet pan, and chill in refrigerator while you roll your second piece of dough into a rectangle. Use dough to make a dough crust, long strips for a lattice or use pie cutters to create embellishment pieces. Leftover trimmings from the base crust can be rolled out to be used with a pie cutter.
Pro Tip: Make a double batch of pie dough and label the plastic wrap (I prefer this brand as it is the stickiest and has a convenient slide for cutting) with the date for future use. You'll make your next pie in half the time. Keep dough tightly wrapped up to 5 days in the fridge or up to 3 months in the freezer. Thaw frozen dough in the refrigerator overnight.

